This is an article taking the user step by step to install Anaconda 2024 version in Windows laptop for the purposes of using Jupyter Notebook/Lab in the system.
Navigate to the URL anaconda.com/download and type in your email address and tick to conditions to allow a download link to be emailed to your email address.

Once the email is sent, you will get a success message.

Click on your email link – Download Now

This will redirect you to the download link and click on DOWNLOAD button.

Once the download starts – you will see the download confirmation page.

Click on the download icon on the chrome browser and select the folder of download.

Right click on the file in your folder and click Run as Administrator

If you get a pop up, click on YES to run as administrator.

Click Next and I AGREE in the following window.

Select recommended procedure and NEXT

Select NEXT

Click Next

Click INSTALL , wait for the package installation to complete.

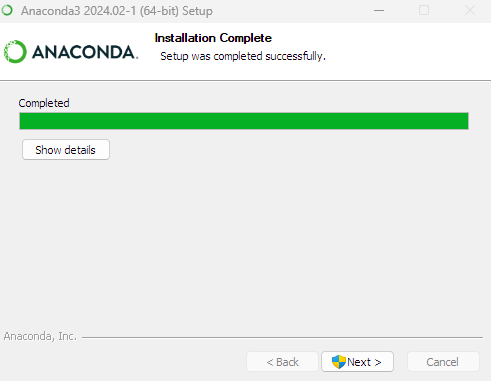
It will take some time to complete and click NEXT once the button gets enabled.

Click NEXT again, the message shows that Jupyter notebook is pre loaded.

Click FINISH with ‘Launch Anaconda’ ticked marked to launch Anaconda directly.

An icon will be launched while Anaconda loads.

The Anaconda application shows Jupyter notebook as one of the apps installed. Click ‘Launch’ to launch it.

This will open the default browser to the Jupyter Notebook directory.

Click on New> New Notebook to start your first Jupyter Notebook program
If you get a pop -up for Kernel, just select Python3.

_edited_edited.png)