In this blog, we will learn about:
· Understanding Jenkins.
· Step-by-step installation of Jenkins.
Introduction :
Jenkins is an open-source automation server that is commonly used for continuous integration and continuous delivery (CI/CD) of software projects.
Jenkins helps automate various tasks related to building, testing, and deploying software, making it easier for development teams to collaborate and deliver code more efficiently.
Jenkins allows developers to define workflows as code, facilitating seamless integration with version control systems like Git. This means that every change to the code base triggers automated builds, tests, and deployments, ensuring that software changes are thoroughly validated before reaching production.
Jenkins is useful for several reasons:
It enables continuous integration which ensures that new changes are quickly integrated, tested, and validated, leading to early detection of bugs and issues.
Jenkins facilitates continuous delivery by automating the deployment of process, allowing teams to deploy code changes to production environment rapidly and reliably.
Jenkins is highly flexible and extensible, with a vast ecosystem of plugins and integrations that support a wide range of tools and technologies.
Jenkins has a large and active community of users and contributors who continuously contribute plugins, provide support, and share best practices.
Jenkins is a valuable tool for any software development team looking to improve productivity, quality, and efficiency in their development workflow.
Jenkins Installation…
You will need to install java on your machine, as Jenkins is java-based application. Jenkins typically requires java8 or java11 or java17 or java21.
(You can check your java version on command prompt by providing command 'java -version')
Go to the official Jenkins website and download the latest Long-Term support version of Jenkins. The LTS version is recommended for stability.
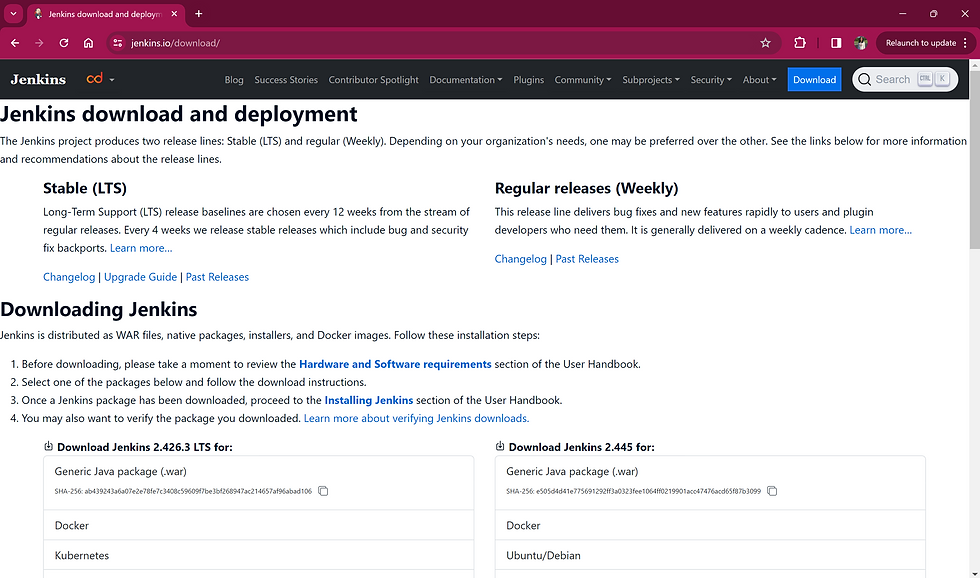
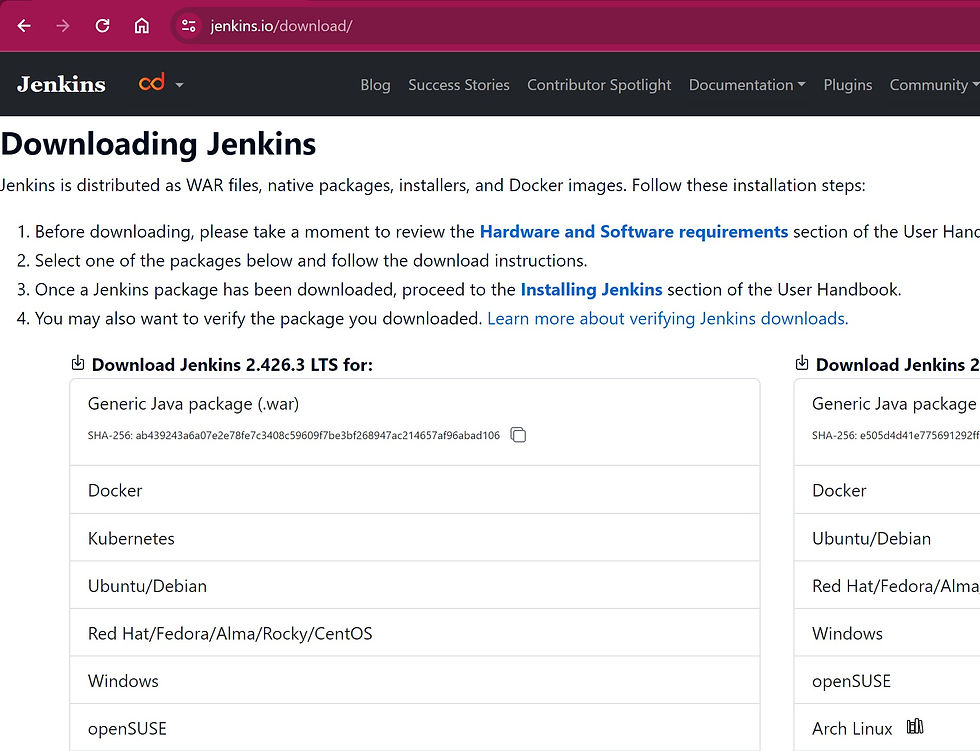
Here, In above screenshot select Windows. Windows installer package for jenkins will be downloaded in your download folder and then you can see below screen.
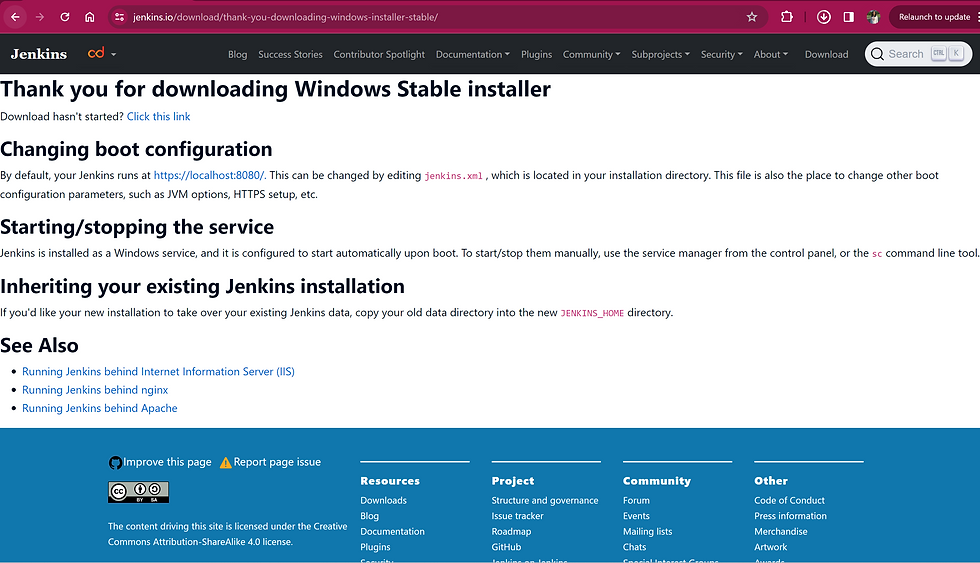

Here, click on downloaded file and click next to start installation.

Here you can choose a your destination folder or can select as default folder.
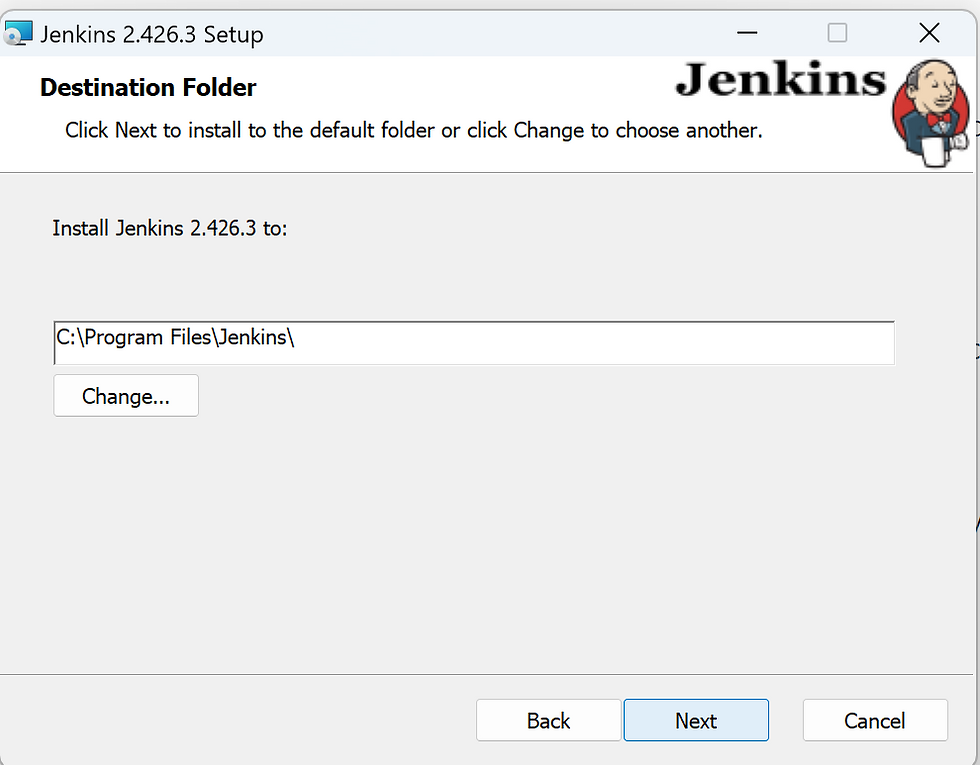
And folder for Jenkins will be created. Click next!
H
Here, I am Selecting option Run service as LocalSystem because this is my own computer but if you are using a corporate computer then you can use Run service as local or domain user. Then Click next!

Here, click Test port button to Check port availability.

Then click next! And select java folder. In my system I have a java21 version.

Then click OK. You will redirect to this screen.
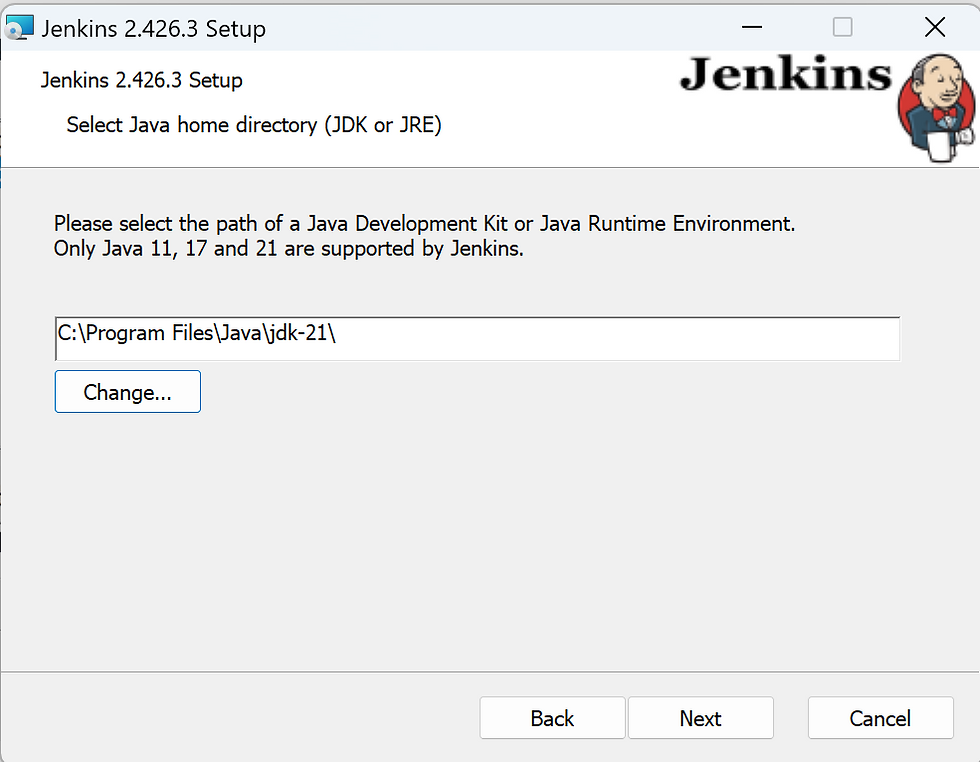
Click next!

Here Click on Start service and click option ‘Entire feature will be unavailable’ as I would like to do manual set up for my system.

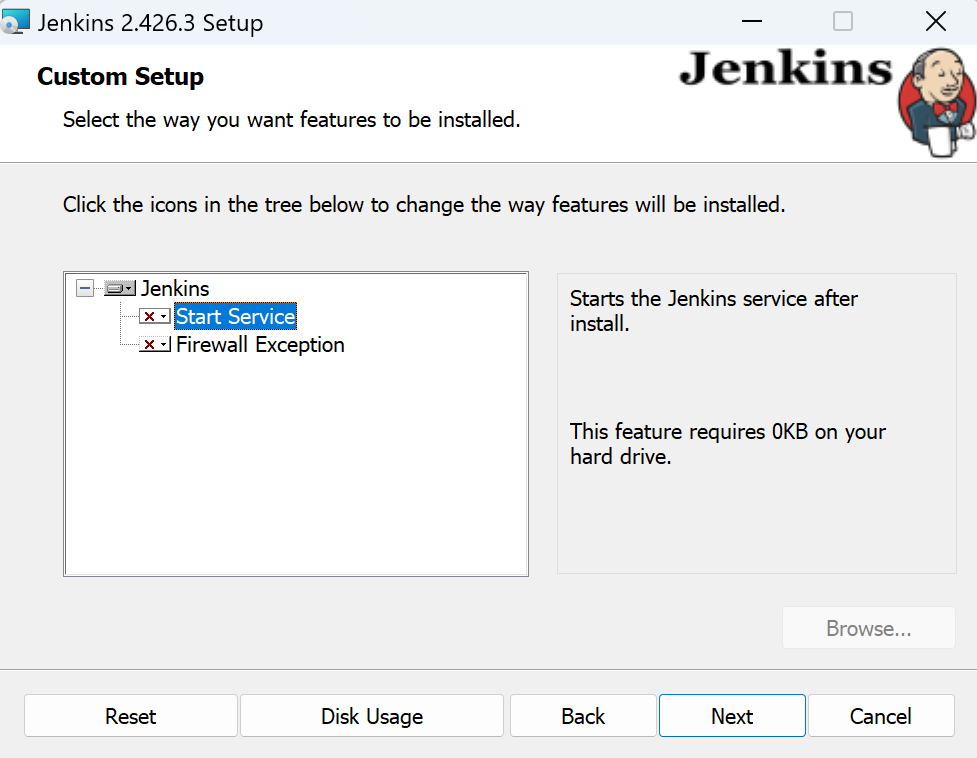
Click Next!


Then go to your Jenkins folder in program files, open XML file in editor view and give actual path of Jenkins folder. For reference, below screenshot is of XML file, open in editor and highlighted part is %programData% is replaced with actual path i.e. ‘c:\program Files\Jenkins\War’

And then save changes.

Then go to services panel now.
Type services. msc, service panel will open. Click on start service for Jenkins.

Then goto your browser and search for

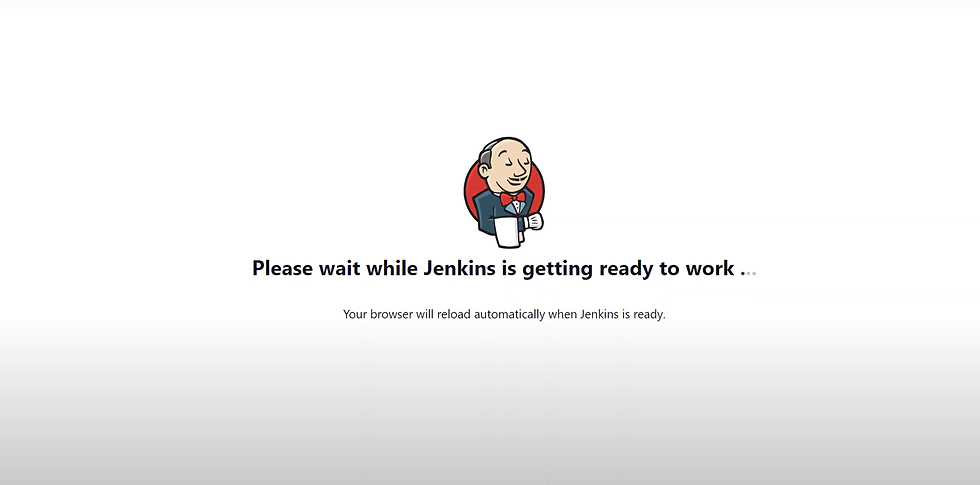

If you are doing this for the first time it will give you password in above given path file. Copy and paste it. Then it will ask you to install plugins. Install all plugins.


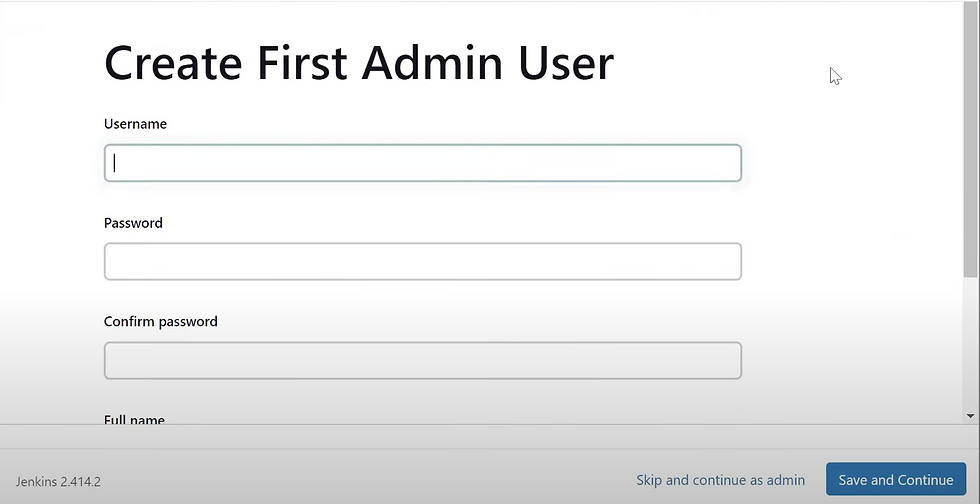

Once installed, you can create your first Jenkins job – a task that defines a specific build, test, or deployment process. Jenkins jobs can be configured using a graphical interface or by defining pipelines as code using Jenkins file, a domain-specific language designed for describing CI/CD workflows.
Thank you!!
Keep Learning!!
_edited_edited.png)
